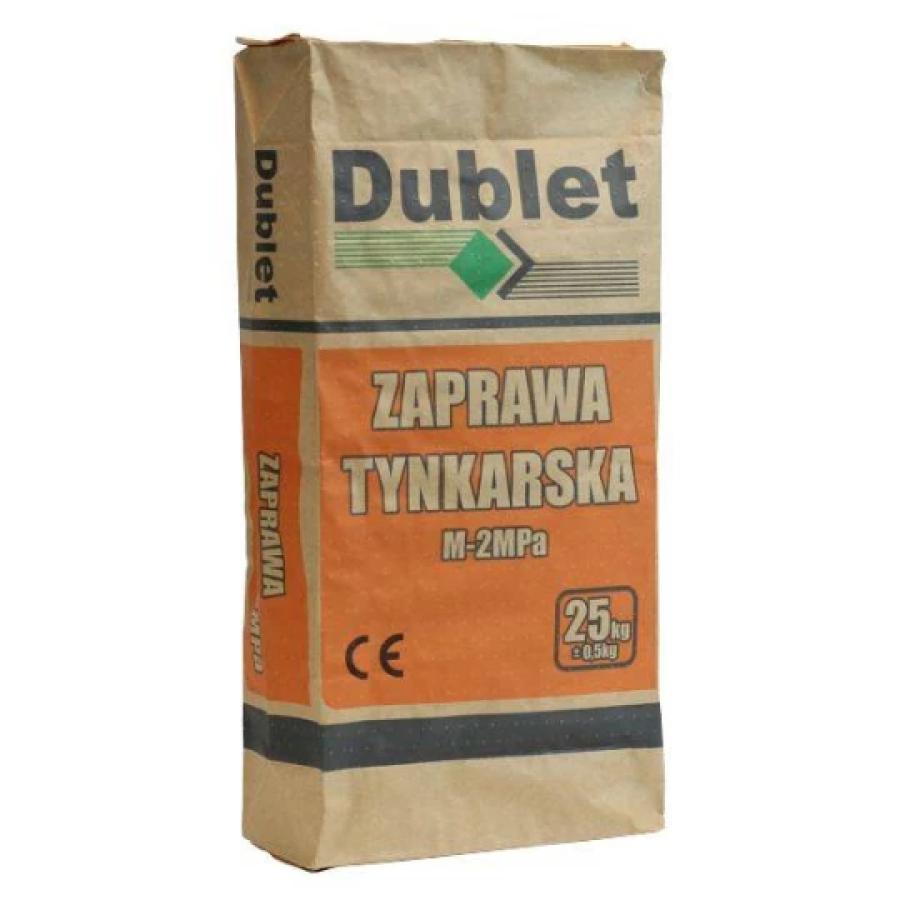
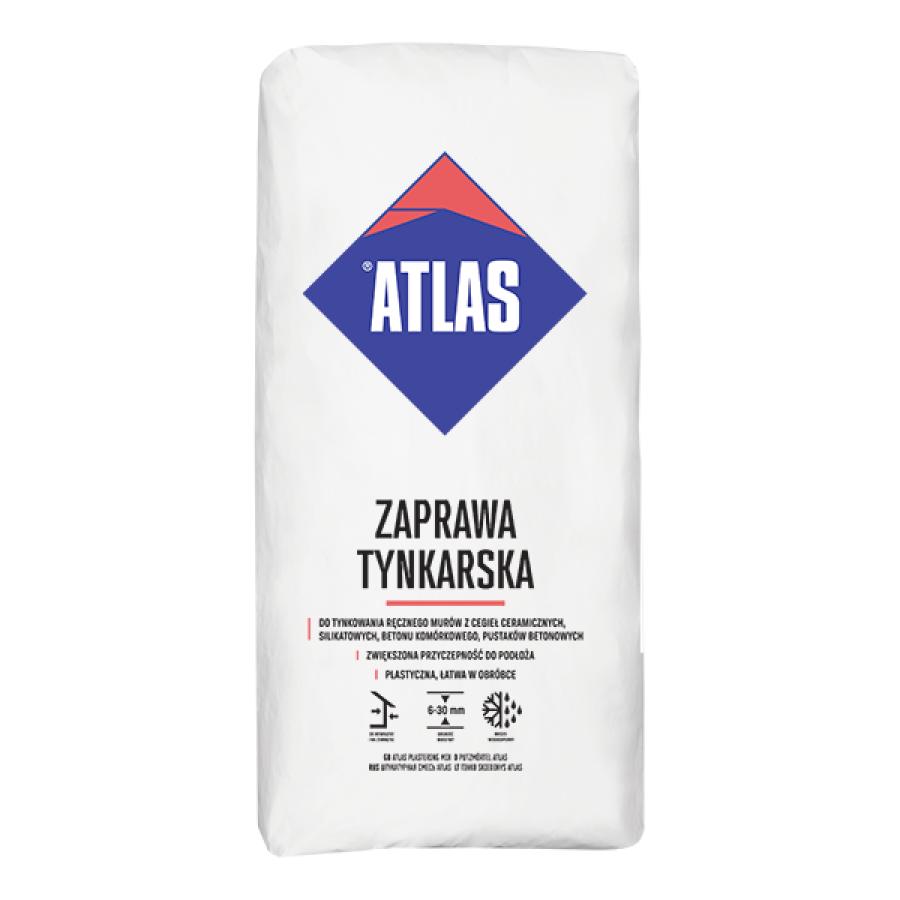
DUBLET PLASTER MORTAR 25KG
Plastering Mortar – designed for traditional two-layer plastering, Category II and III, for use indoors and outdoors. Plastering Mortar is suitable for ceramic, concrete, silicate, and aerated concrete substrates, as well as for old cement and cement-lime plasters. Plastering Mortar is ideal as a substrate for textured, acrylic, silicone, and silicate plasters, all types of paints, tiles, wallpaper, and gypsum plasters.
MORTAR PREPARATION
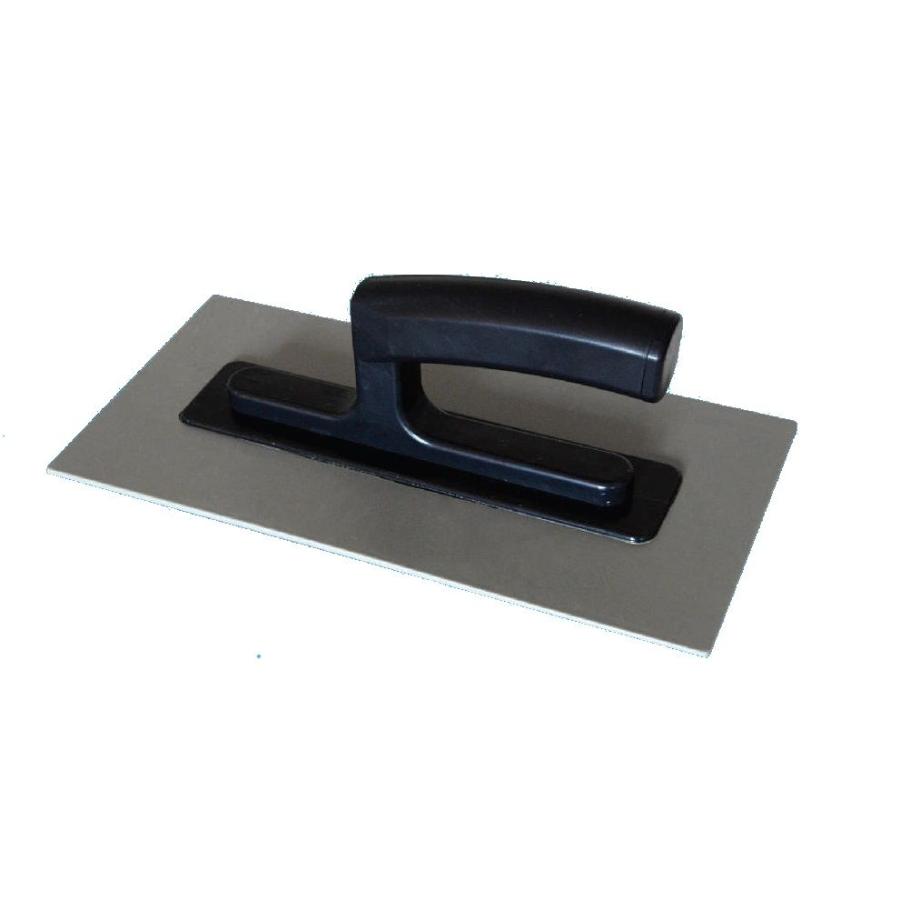
Pour the dry Plastering Mortar mixture into a container with a measured amount of clean water and mix mechanically using a mixer or in a concrete mixer until a uniform consistency is achieved. Then, wait approximately 5 minutes and mix again. Prepare the plastering mortar according to the following ratio: 3.5 liters of water per 25 kg of dry mix. Adjust the amount of water to the desired consistency, substrate type, and weather conditions, keeping in mind that adding the incorrect amount of water will alter the plaster's properties. Over-thinning the mortar may cause the dried plaster to crumble. APPLICATION: The consistency of the mortar for the first layer of plaster, known as the "scratch coat," should be selected to allow for the precise filling of all gaps in the substrate (joints, installation grooves) and for preliminary leveling of the substrate (aim for leveling unevenness so that deviations do not exceed 1.5 cm). Excessive differences in the thickness of the applied plaster can result in micro-cracks in its structure. The thickness of the "scratch coat" should be no less than 4 mm. After the first layer has set (approx. 24 hours), apply a second layer of plaster, known as a "scratch coat," no thicker than 2 cm, in a single cycle: spreading and drying. Apply both layers of plaster evenly, using horizontal strokes, from bottom to top, using a trowel. After applying the "overlay" to the entire wall, proceed to the initial leveling (so-called "first patch") of the plaster surface. Using an "H" patch, run the patch across the entire plastered surface vertically, horizontally, and diagonally, always upwards. Fill any gaps in the plaster with excess plaster removed from the patch. Fill larger gaps with fresh plaster. After approximately 2 hours, after the plaster has set, but before it dries (the plaster should be wet but not dirty when touched), proceed to leveling the surface again (so-called "second patch") in the same manner, but using a trapezoidal patch. Once the wall surface is even, smooth the plaster with a polystyrene trowel. To obtain Category III plaster, lightly mist the surface with water and then wipe with a felt or fine sponge trowel. Ensure good ventilation during the drying of interior plasters. Protect outdoor plasters from drying out rapidly and from direct sunlight. During the plaster curing period (approx. 24 hours), the air and substrate temperature must not drop below 0°C. Work should be carried out in dry weather. All work should be performed in accordance with plastering technology. This information constitutes basic guidelines for the use of the product and does not relieve the contractor of the obligation to perform work in accordance with good construction practices and occupational health and safety regulations.


